Setup a Virtual Machine on your PC
1. Download & Install VMware Workstation 16 Player for Windows here
No need to change any settings. Click through the install and wait until it is complete.

2. Download Ubuntu 20.04 64-bit PC desktop image here

3a. Open VMware and select "Create a New Virtual Machine"

3b. Ensure the Ubuntu 20.04 Disc Image file is selected.
If it does not automatically select, browse the downloads on your PC and open it.

4a. Create a username and password.

Name your virtual machine.

5. Click Next and then Finish.
No need to change any settings.


6. Wait while Ubuntu installs on the machine.
This will take a while. Be patient.

7. Log in.

8. Navigate to Virtual Machine Settings.

9. Change the Network Adapter to Bridged, click "Replicate physical network connection state" and click only Intel(R) under Configure Adapters .
Then click ok to close Virtual Machine Settings.

10. Click on the "Show Applications" icon in the bottom left corner of the screen. Search for Terminal.

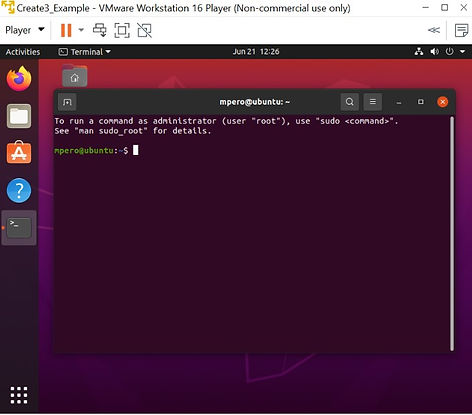
11. Open Terminal.
Note: To copy/paste in terminal, click ctrl+shift+c to copy and ctrl+shift+v to paste.
12. Copy and paste each of the following commands into terminal. Hit enter after each line.
Note: The following commands are also on the iRobot page.
note: make sure you get a response with "UTF-8" after running the command above.
note: If you do not get an error, continue to this command.
I got a public key error on the first command (keyring not downloaded). Followed the gray commands below to resolve it:
Try this command again. If those commands worked, continue to the black blocks of code. If those commands didn’t work, try:
13. Install Create® 3 example repository.
or go to this link.
13. Install Create® 3 example repository.
or go to this link.
14. Try the command ros2 topic list in terminal. If your machine and Create® 3 robot are on the same WiFi, you will get the result seen on the right.
